Wednesday, 5 December 2012
We just had our final presentation yesterday. It went fine and i am relieved we managed to finish the project.
It was a bit rushed but at least the project turned out decent.
I am now going to show the final result. Then i will pick up where i left off from the last "Creating Hyperion" post.
I will explain the UV and Exporting parts.
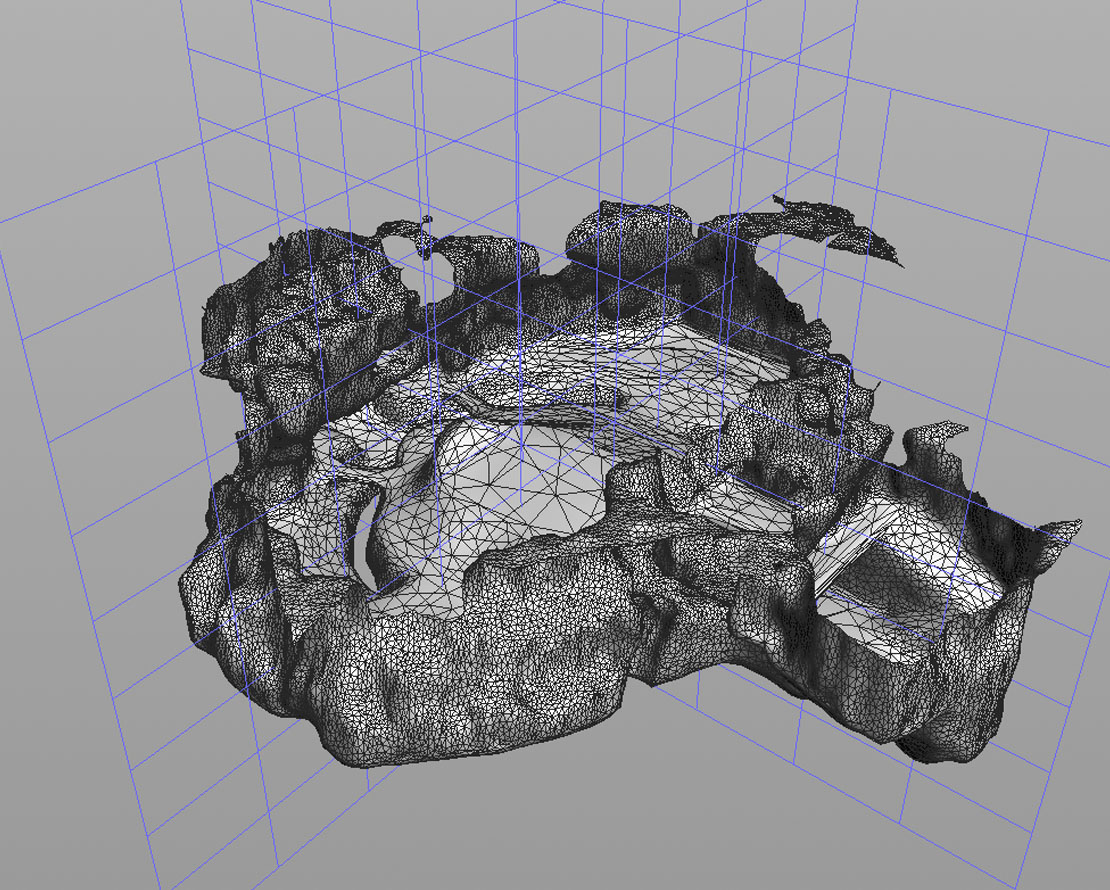
Firstly, the base of the terrain will be used.

Then i group up the inside of the base of the terrain. This is where the smooth will be applied.

It is then smoothed and UVs are projected.

The UVs are then projected onto the terrain.
This is the first step for the UV generation.
This first step is to give overall decent UVs to the whole terrain.


The next step is to unwrap all the extrusions and transfer those UVs onto the main terrain.
 |
| Unwrapped extrusion |
 |
| Transfered UVs |
Then i have to unwrap all of the other extrusions and transfer their UVs onto the terrain.


Kevin has also added in additional rocks that add elevation and depth.


Now that the big rocks are added, the hidden faces behind the rocks need to be deleted.
To do so, Kevin simply grouped up the part of the terrain that is hidden and deletes them. How he groups them is as follows.

The rocks are used as the bounding objects that selects the areas in the terrain that are hidden.

Then delete those selected.
Once the whole terrain is finished, i export it to Unity. Before that though, i have to spilt the model up into 4 parts.
This is because the model by itself has too many vertices for Unity to handle.
So i used the Break SOP to make it possible.
What the break SOP does is that, it will create a division on the model. I used grids as the "cutter".

 |
| Before break SOP |
Once the break SOP is applied, the geometry now has a clean line created across it.

Next i have to use a Connectivity node to group up the sections.
Then i delete each part to get individual pieces to export.


The result.
Below is the delete parameter and how i got a part of the terrain.
I used the $CLASS expression and made it equal to 0,1,2 and 3.
Each number is a group that is related to a part of the terrain.

Now that is done, the Exporting begins. The texturing and lighting is applied in the game engine itself.
Also to export all the assets like trees and grass, we used a script created by John Courte. He is a senior Houdini Artist in Side Effects.
What the script does is it exports XML files from Houdini. This XML file tells Unity where what objects to place.
The final result.


That is it. Hyperion is done. Finished. Complete.
.......Sort of
There are still a lot of improvements that have to be made. Firstly, I want to improve the UVs.
There is some really bad stretching and some of the seams can be seen in the open.
Secondly, The techniques used have to improved and must be more streamlined and less cluttered.
Right now the node structure is very messy and confusing. If i were to pass the file to someone else, they will have no idea what to do.
In the future i want to create more levels using this workflow and techniques. I want to create better levels and really push the workflow to the limit.
With that, that is all.
I can finally sleep.
No comments:
Post a Comment